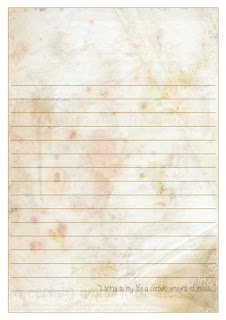
Day 21 of my 365 Design a Day, I created this little vectored printout project: To make your own grungy little notepad!
Get the download here:
Notepad Pages PDF The design was created in illustrator (so still vectors!) using a few grunge and dirt brushes and a texture background as well as various layer blending effects.
Free to download and print out for personal use only. :)
Mini Instructions: 1. Click on the link, download the PDF file to your computer, open it, print it out onto A4 or Letter size paper (may need a little resizing) of a decent weight/thickness and not too opaque; I used an 80GSM weight, smooth paper. Regular printer paper works fine.
2. Print out more than one page, say, between 10 and 20 (5 or 10 double pages), depending on the weight of the paper (lighter/thinner paper = more pages can be bound together, thicker/heavier paper = fewer can be bound together as it becomes much more difficult to either punch holes or staple).
2. Trim if you prefer not to have the white borders showing.
3. "Bind" the pages together at the top section using a hole punch and strong thread/ribbon or staples.
4. Cover the binding with sticker paper or fabric of choice.
5. Enjoy your new notepad! :D
Photo Tutorial: 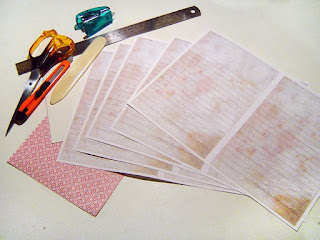
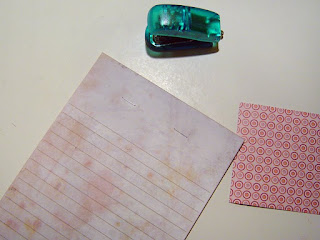
Gather your materials, here I have my printouts (I printed 9 pages so that's 18 sheets in my notepad, for more printing info, check the mini instructions above), a piece of recycled cardboard for the backing, sticky backed patterned paper for the upper wrap and tools of choice.
Trim your printouts to your desired size, here I've cut all the white out but you can leave it in if you like a border around each sheet.
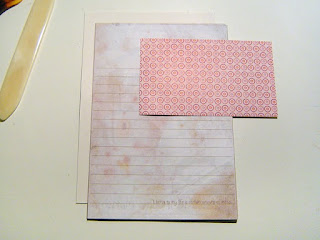
Cut your backing card to the same size as your printouts.
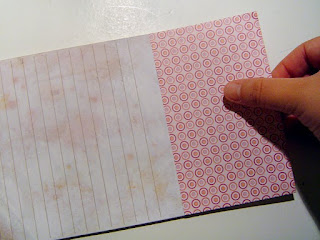
Cut your sticker paper or fabric etc to the same width as the printouts and between 8 and 10cm high. You can easily measure how much you want to use, however, by putting the paper against the top margin of the printouts and roughly measuring and marking how far down you'd like the paper to go. Just remember to leave enough to wrap over the block of printouts and down the the back a little.
Gather your printed sheets and backing card together and jog them a bit to get them as aligned as possible.
Staple about halfway down the top margin on the printouts - Make sure your stapler is strong enough to staple cleanly through all your papers and card.
Another method here is to punch two holes halfway down the top margin and tie a ribbon or heavy thread through the gathered sheets. The next step is optional if you chose the hole punching method as your ribbon may make too much bulk for the covering sticker paper/fabric.
Stapled block of sheets and card backing!
Covering sticker paper ready to be attached.
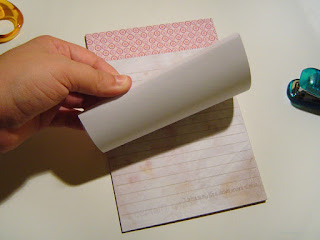
Remove the backing paper from the sticker paper and carefully align it with the sides of the bookblock (your block of printed sheets and card), a little over halfway down and covering the staples, just make sure you have enough of the sticker paper to wrap around the top and attach to the card at the back, as in the next photo.
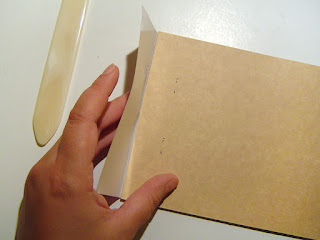
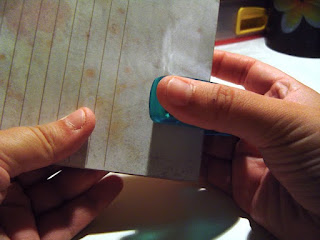
Turn your block over and using a bone folder to help with the crease, pull the sticker paper over the top of the block and down to stick to the card backing.
Use a bonefolder or equivalent to apply pressure, carefully! or you might tear the paper where the staples are.
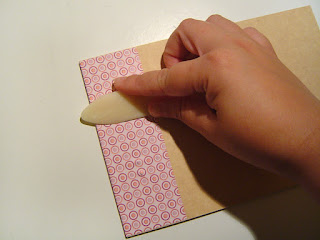
Smooth out creases and press the sticker paper firmly to the front and back of the block of sheets.
Enjoy your new notepad!
An easy little project under 30 minutes. :D
Cross posted to my 365 Days of Vee Blog also. *

 They even bought me a kumquat plant! Yum!


